mud-kitchen

Mud Kitchen: Perfect for Natural Playgrounds

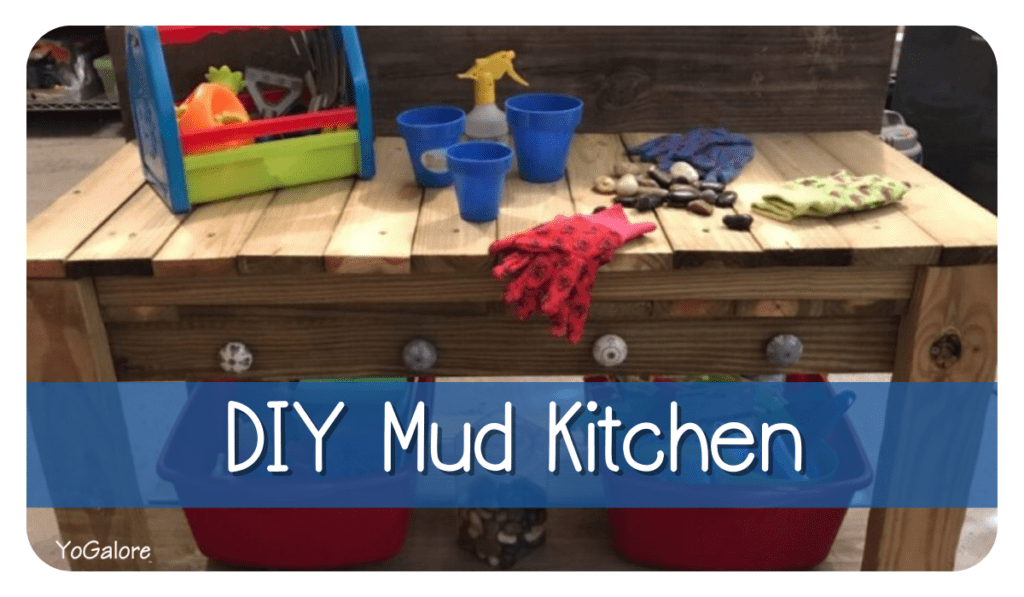
Spring is near! You know what that means — OUTDOOR PLAY!!!!!! Outdoor play is right up there with sensory play for me. The benefits of both are endless and it’s even better when those two concepts cross paths. Enter my outdoor mud kitchen.

mud kitchen
We needed a simple mud kitchen for our playground. Something that the kids would enjoy, that didn’t cost much and was durable.

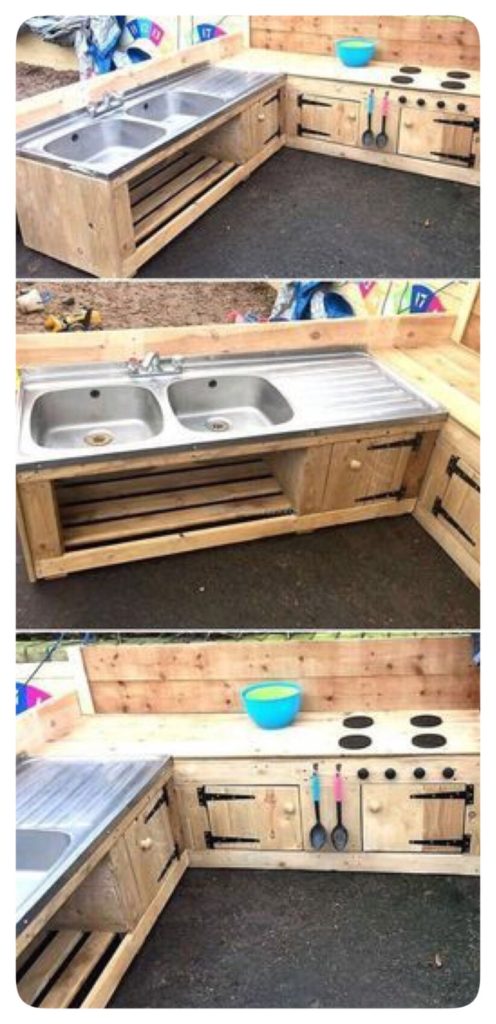
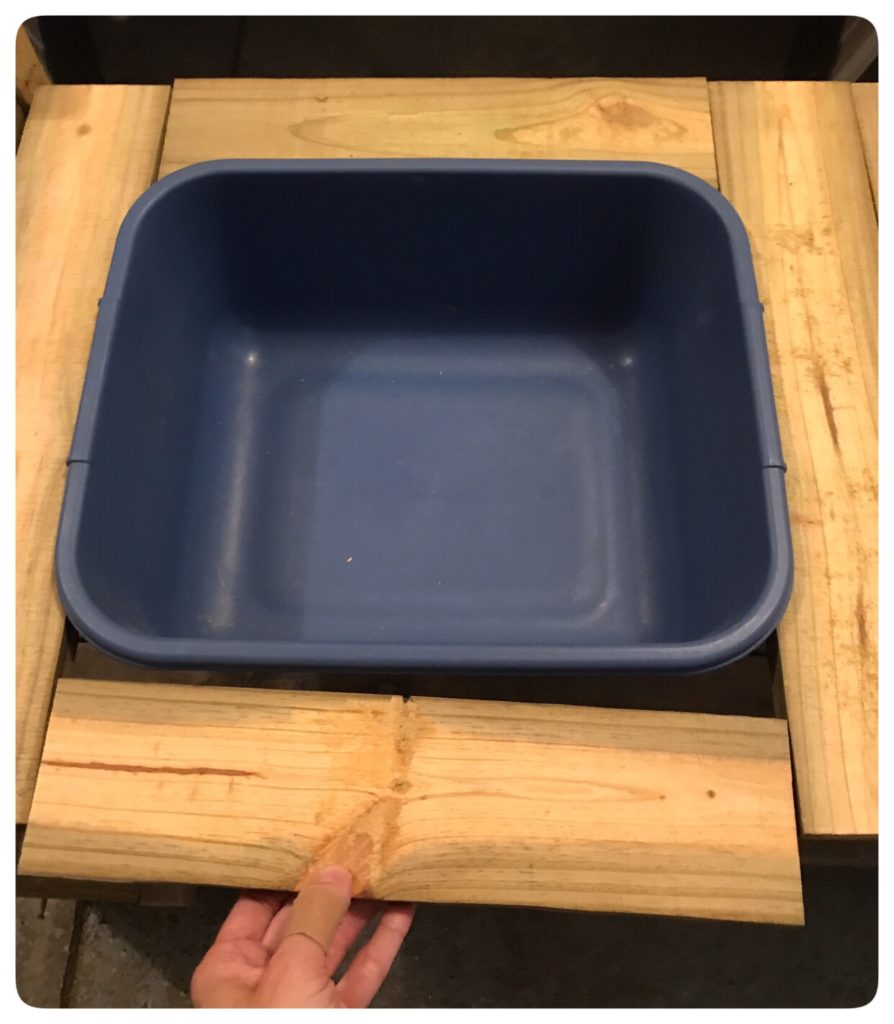
I started by researching on Pinterest. There are so many ideas, designs and features, I wanted to see what other people had done so I could make sure I included some fun stuff. I got the chance to think like a kid again. I didn’t want to spend much but I wanted something that would hold up on our natural playground at school. The ones with knobs and loving parts, chalk boards, and places for storage or spaces to hang utensils were my favorites..

This little mud kitchen was so cute. It had lots of “work space” and I thought the three bin “sink” area was a great idea. Several children could easily play at the same time.
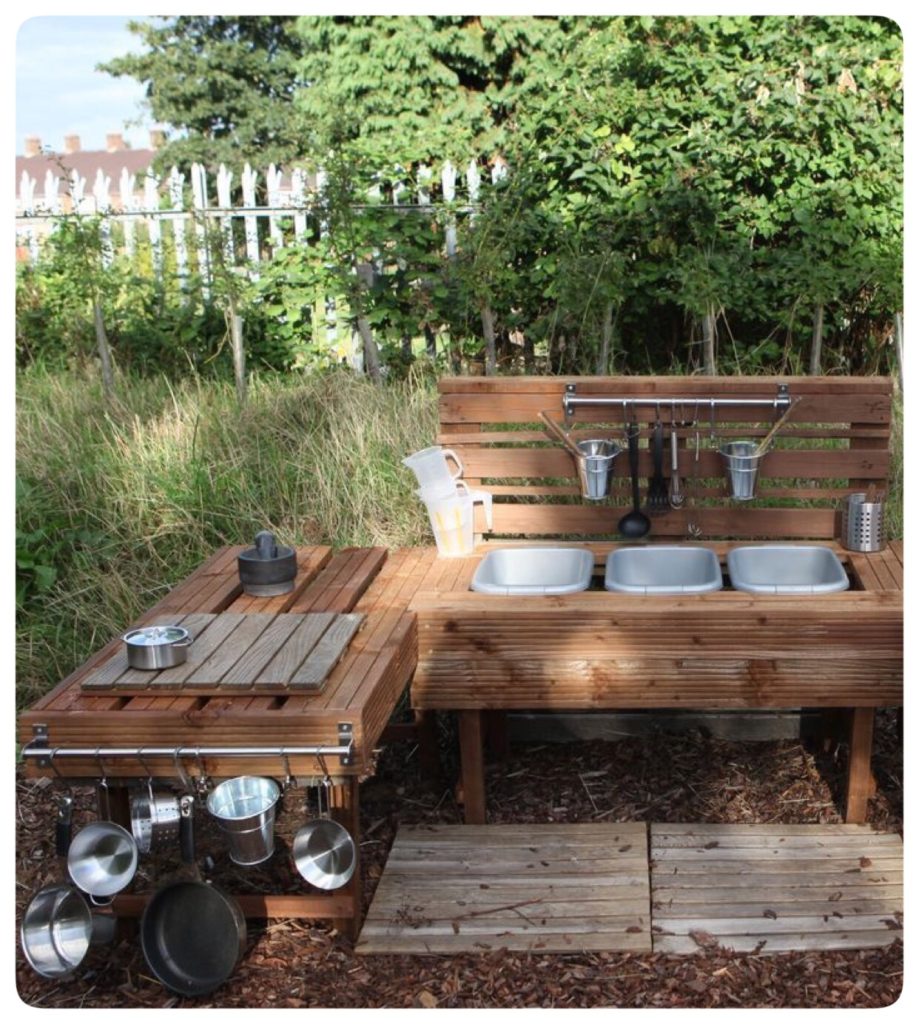
photo from: Pinterest
I loved that this mud kitchen used a real sink so it was reused/re-purposed for a cool project. Photo from Pinterest

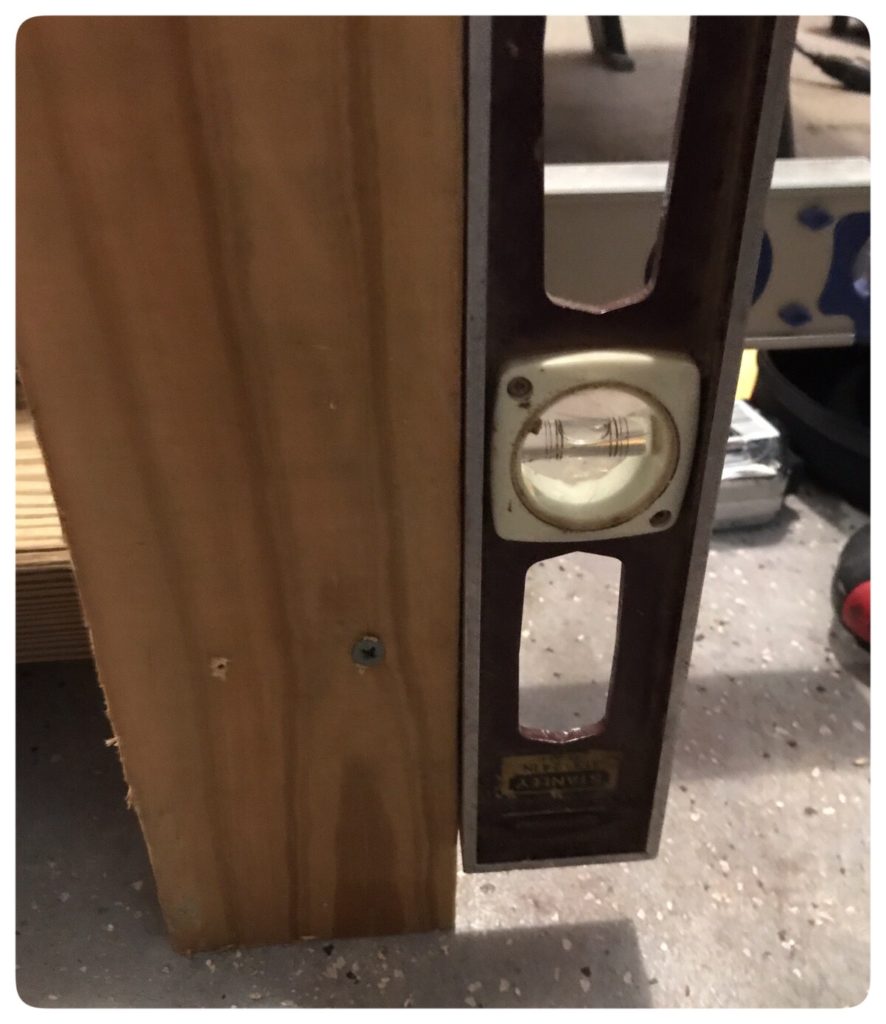
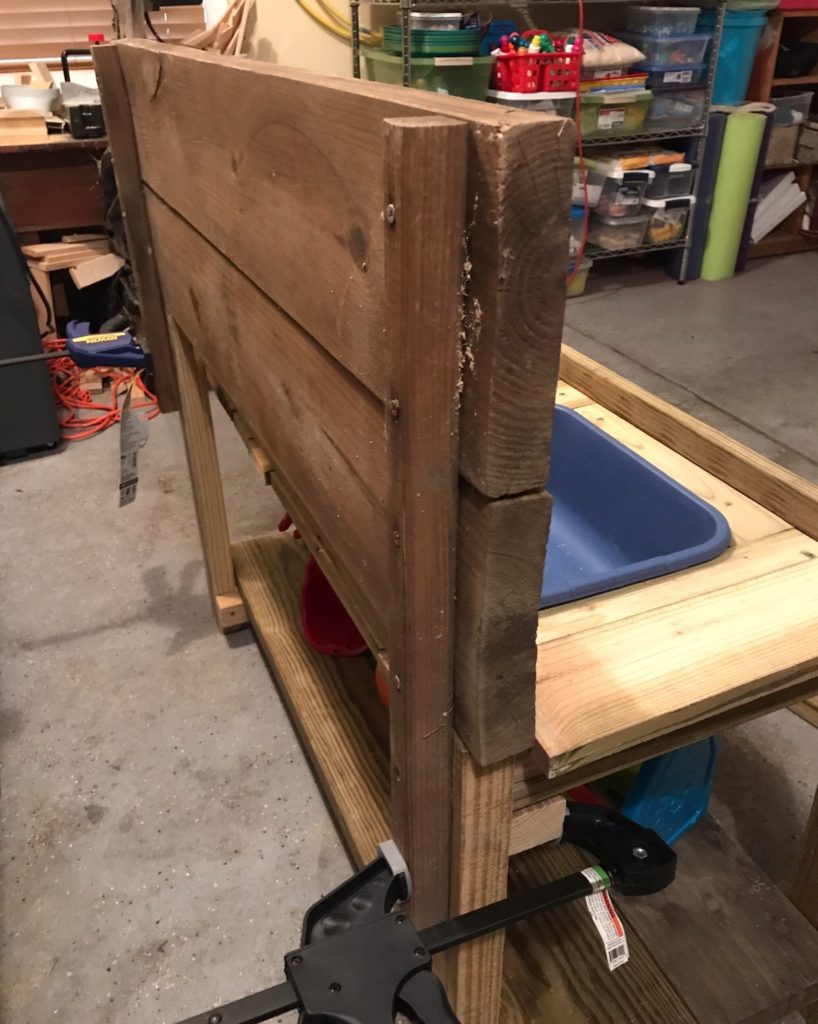
I made my mud kitchen with nothing but scrap lumber I already had and other miscellaneous pieces my brother gave me and I didn’t have a set of plans. Probably isn’t the *best* way to build something (it used to drive my dad CRAZY when building something with me. I knew sort of what I wanted, but I couldn’t envision the finished product. I had to go step by step).

DIY mud kitchen
Like I said, I didn’t have any plans and I did a design-as-you-go kind of thing. I began by figuring an average height for the play area. I went with 24″ tall and 48″ wide. One thing that is essential is a collection of clamps. They helped keep things together while I was getting things level without having to screw everything in.
A level was essential of course. I wanted a shelf for storage under the “sink” so I basically worked from the bottom up.
Don’t forget you have to make things level both vertically and horizontally! I used mostly 3″ screws for this project and I always pre-drilled holes before using the screw.
Next. I fit together the pieces for the actual work made a work space. I also made a cover for the work space if it wasn’t being used.
I was able to leave a space for the dishpan and I wanted to make sure the dishpan could be removed and cleaned if it needed to be. I was able to fit it perfectly so the lip of the dishpan held it in place.
Once I had placed everything on the work space and it fit I screwed everything in.
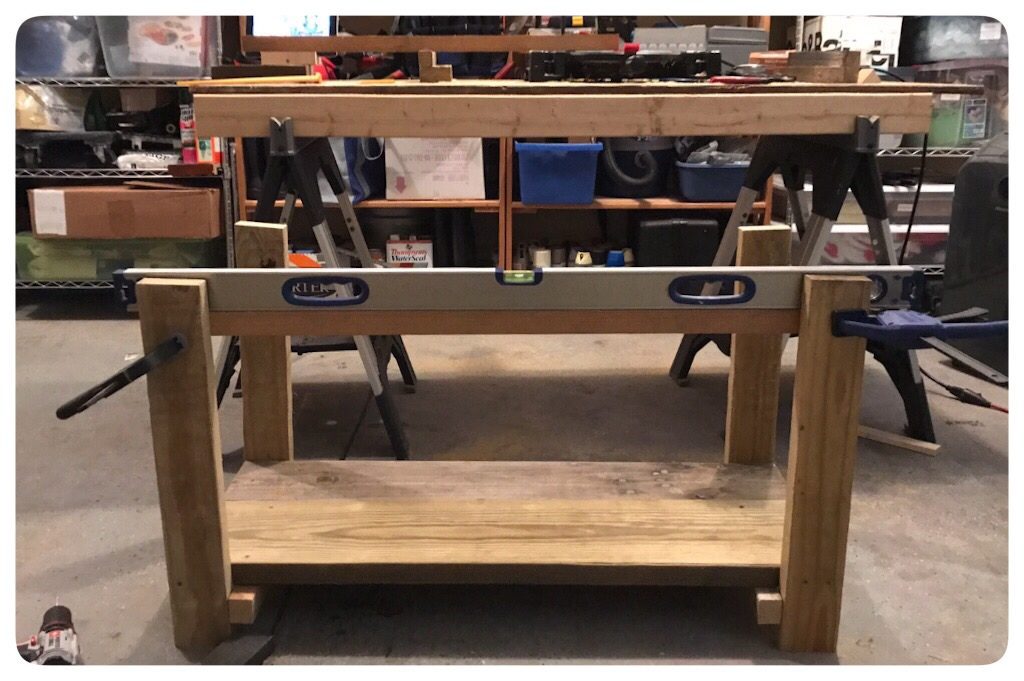
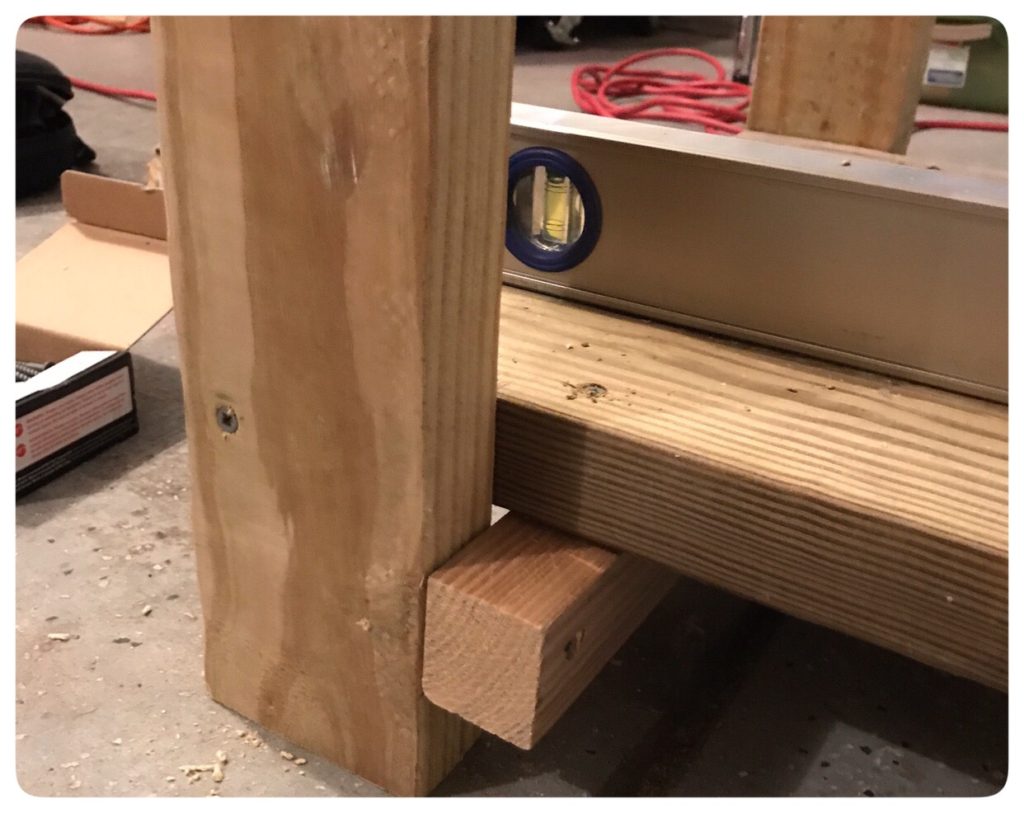
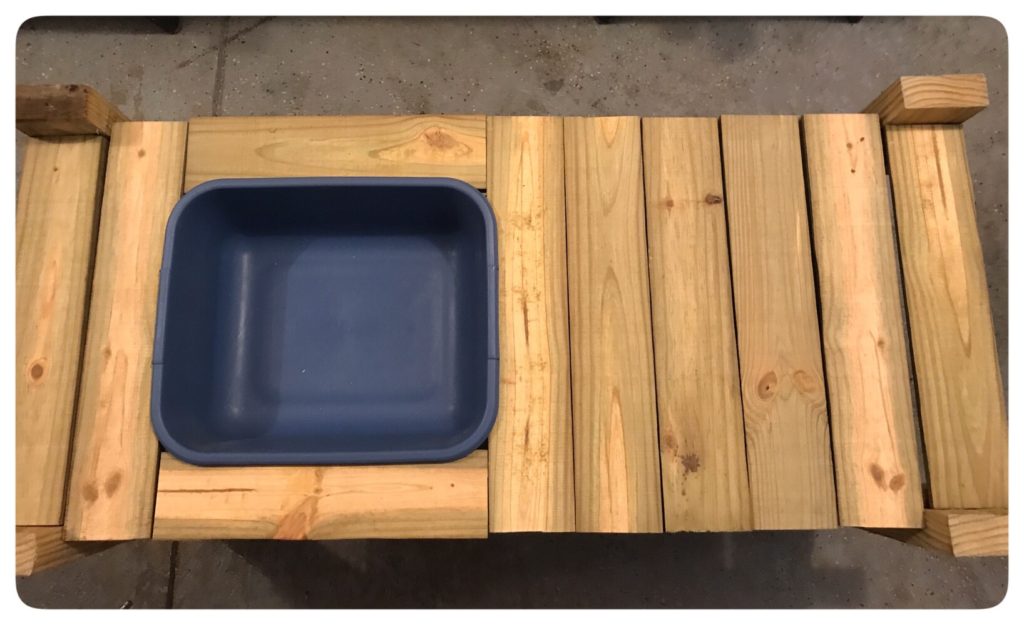
I attached pieces going from side to side to rest the work space pieces on. Here I used 1 1/2″ screws so they wouldn’t go through to the other side.
I created what I would call a “headboard” and attached it to the back of the work space.
diy-mud-kitchen
Now it was really starting to take shape!
mud-kitchen
With the cover on it.
mud-kitchen
I had some little porcelain knobs that I left a little loose so the kids could turn them.

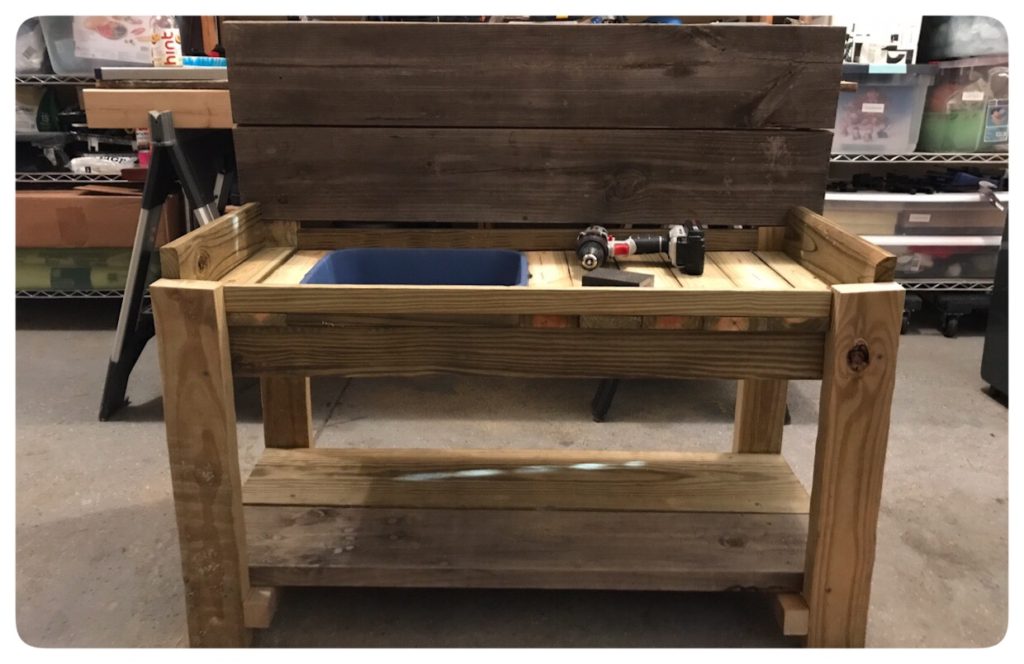
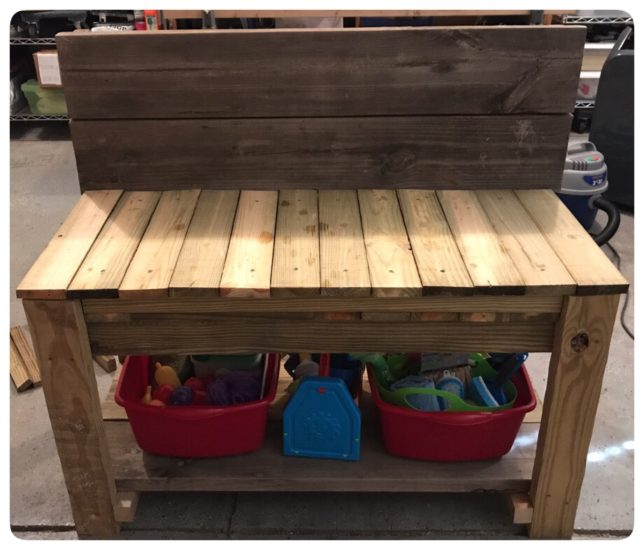
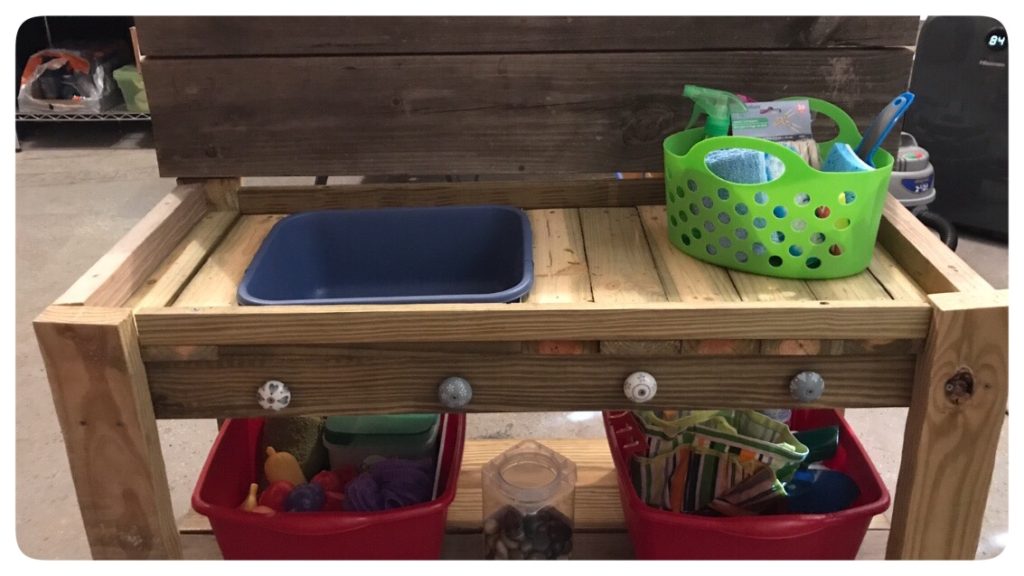
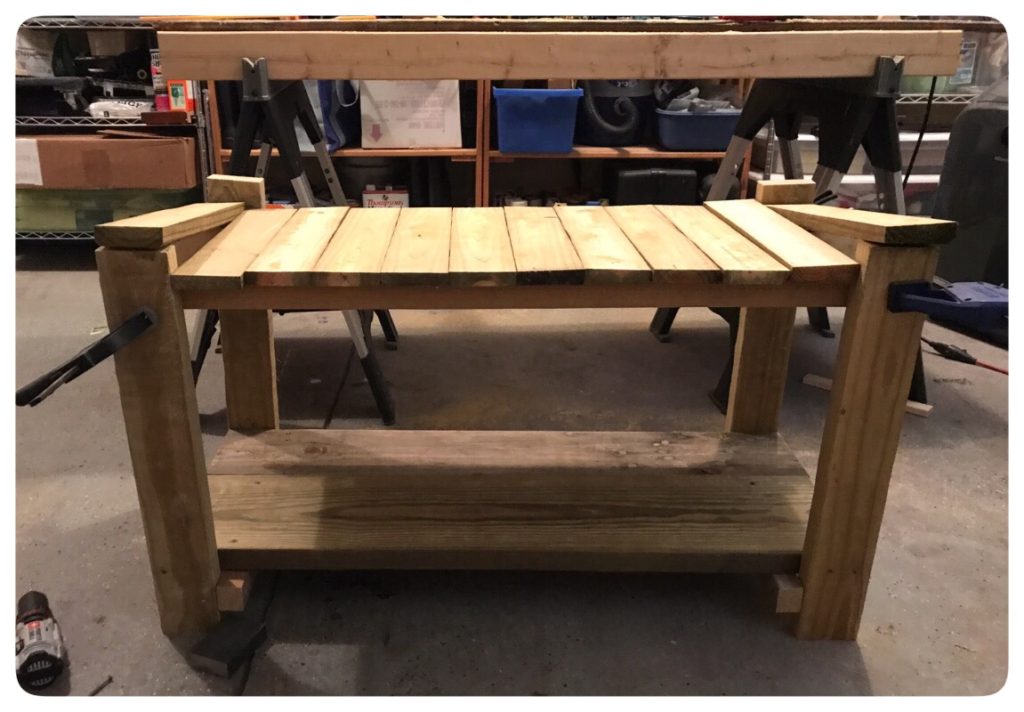
And there you have it. A mud kitchen without plans or much woodworking experience.

One Response

Leave a Reply

Sign up below to receive our Yoga Bundle Freebie!

yoga-freebie-bundle