
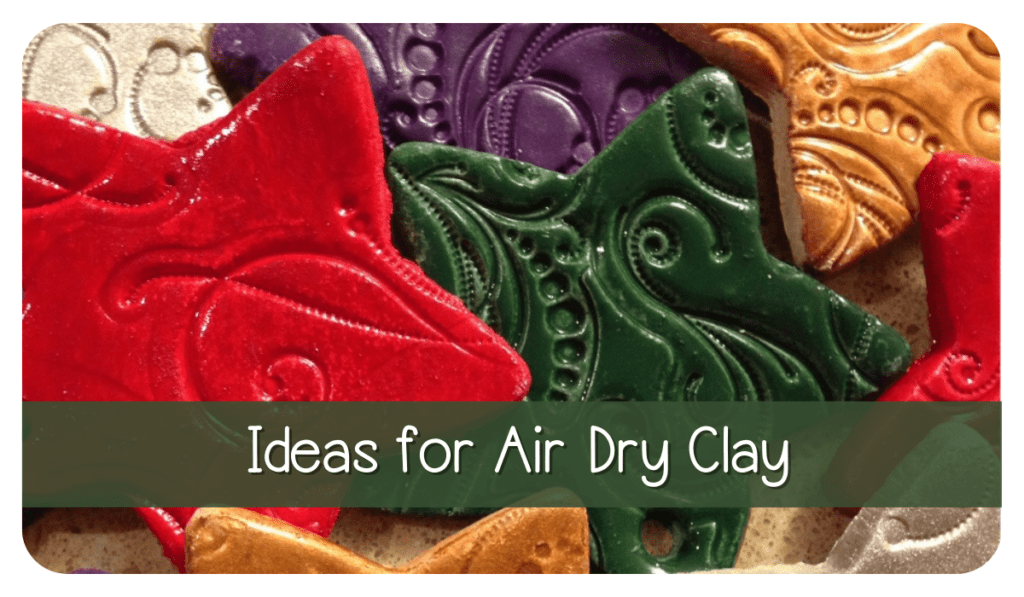
Coming up with ideas for air dry clay is not tough to do. Making ornaments is definitely a favorite of mine. As with most sensory activities I find it relaxing and there are so many possibilities, the activity itself never gets old. There are a few different ways to make air dry clay ornaments, so we’ll include a few options. The first option is simply to buy your own air dry clay, which I do from time to time in a pinch. I use it often enough that I like to have some here at the house if I need it.
You can also make your air dry clay, which involves a little bit of work, but not too much. There are only a few ingredients for each of the two recipes I’m sharing and you probably already have them at home. If you are actually doing this activity with kids, it’s really the way to go. The process of making the air dry clay is just as much fun/beneficial as designing the ornaments themselves, so if you have the time, I recommend making the clay yourself.

*There are affiliate links in this post.
Recipe 1
You’ll need:
2 parts cornstarch
1 part school glue
Mix together using a spoon, then knead together until smooth. Store in airtight container.
Recipe 2
You’ll Need:
2 cups baking soda
1 cup cornstarch
1.5 cups cold water
Mix ingredients together and cook over medium/medium high heat, stirring constantly. Mixture will start to bubble (similar to most playdough recipes) and begins to thicken.
Remove from heat and place in bowl with a damp towel until cool. Store in an airtight container.
Once you have your air dry clay (whichever you choose to go with), you’ve made it to the fun part. For the actual making/designing of the ornaments, you’ll need the following:
rolling pin
cookie cutters (I like the plastic ones like this the best. They don’t rust and they have grips on them for the kids)
a few plastic drinking straws
parchment paper
You may also want (for decorating):
textured rollers (great for kids because they’re easy to use)
clear stamps with acrylic stamping block
spray paint (big fan of Valspar brand)
acrylic paint
glossy spray sealant
jute twine, baker’s twine, pipe cleaners or ribbon (to hang your ornaments)
school glue
small paintbrush(s) (some for painting and some for adding glue to the ornament)
glitter or sequins
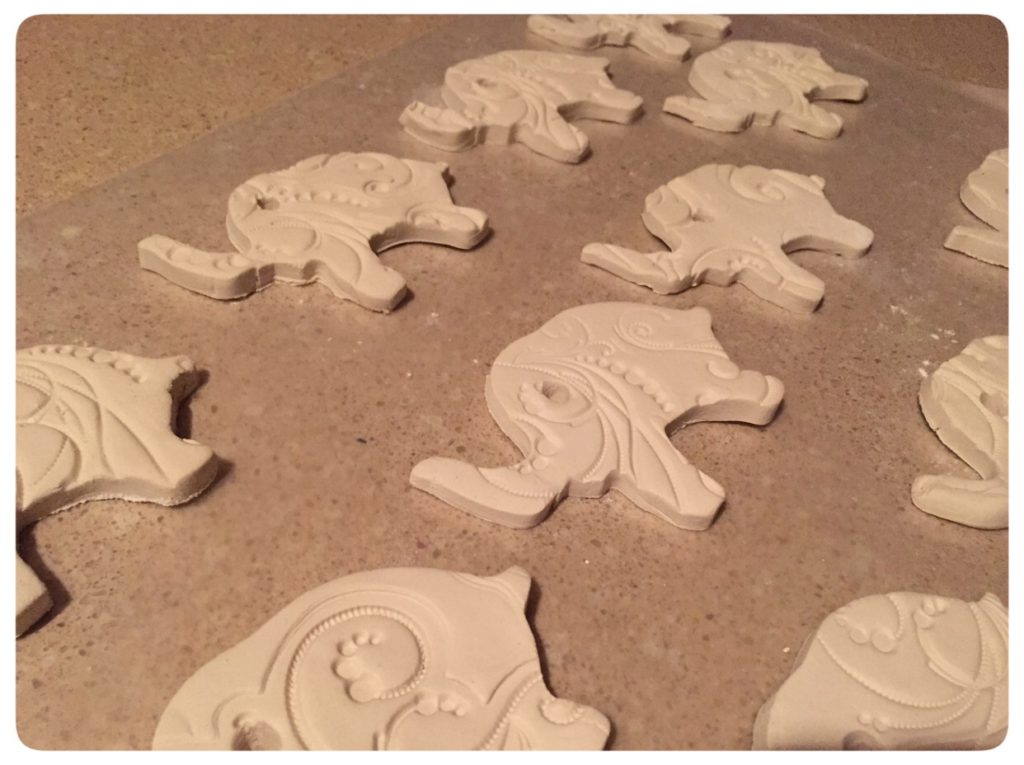
Once you have your clay, take your rolling pin and roll the clay until it’s about 1/3″ thick. If you are using the textured rollers or acrylic stamps, I recommend using them on your rolled out clay before you cut out your ornaments with the cookie cutters.
Then using the cookie cutters, cut out the shapes you want to use for your ornaments and then once cut out, place ornament onto your parchment paper. Just like cookies, keep repeating this process with the air dry clay until you have used as much of the clay as you can.
When all your ornaments are on the parchment paper, take a straw and make a hole in the clay where you want to hang the ornament. I use the regular sized straws and then after I have made a few holes for string/hooks, then I use scissors to trim off the straw where the clay has accumulated up in the straw so I can continue making a clean cut with the straw. Also, make sure your ornaments are nice and flat and check that from time to time. Sometimes as the clay is drying the ends may curl up just a little.
Allow your clay to dry for at least 24 hours, maybe more depending on which type of clay you ended up using. Once dry, it’s time to decorate. I listed a few items above to give you some ideas on how you might want to decorate the ornaments. My favorite way is to spray paint them (like in the photos) and then spray a clear shiny sealant on them (I like Valspar sealant. I use it on nearly everything!). You can paint glue onto them and cover with glitter, then also spray a sealant/adhesive on to it to help keep the glitter from falling off. I have painted with acrylic and tempera paint and the kids like that a lot. It gives them more options as far as how they want the finished product to look.
Ideas for Ornaments
I have done several different things with my air dry clay ornaments. Of course hanging them on the tree is the most obvious idea, but they are also great handmade ornaments to use with themed trees, whether its the shape of the cookie cutter or if its the colors used, they end up looking really nice on the tree. You can make them look as handmade or fancy as you want.
Also using them on wreaths works well because you can customize the shape, design and color of so they will go with the wreath you are putting together.
You can use them as party favors for adults and/for kids for Christmas get-togethers as well as “bring an ornament” parties. They’re great for kid birthday parties too — there are a TON of really neat cookie cutter sets available.
I’ve also used them to decorate my packages when I am wrapping for Christmas, but I also have a really cute elephant cookie cutter and I made several of them and sprayed them different muted colors and used them when I wrapped baby gifts. I’m telling you — there are so many ideas for air dry clay!
I have a set of beach-themed cookie cutters that I used for a beach-themed party I was doing and I took the starfish-shaped ornaments and sprayed adhesive on them and sprinkled fine sand on them until they were covered and then sprayed a sealant on them to keep the sand on them. I used pale blue ribbon to hang them. They were super cute! Ideas for air dry clay are limitless!


One Response