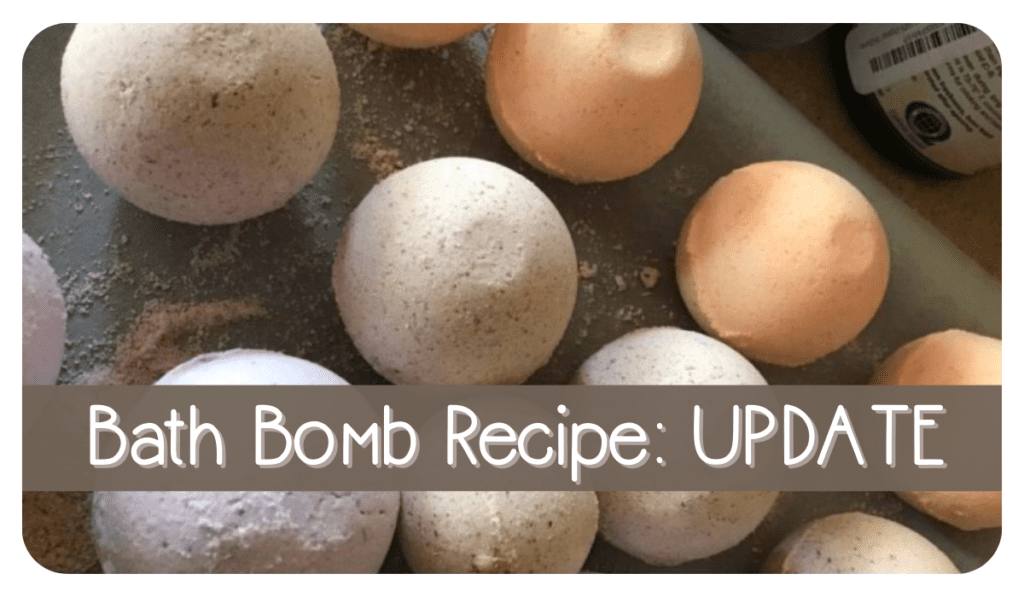
Quite awhile back I got on a DIY bath bomb kick and thought I had it all figured out. I made several batches of bath bombs and did a post on it and thought I was (yes, I’m going to say it) THE BOMB. After awhile I wasn’t happy with my finished product, especially compared to others I had seen. The texture of my bath bombs didn’t seem as smooth and well combined as others out there. Mine also broke/crumbled a lot and I also had trouble getting them out of the molds, which was a problem. I knew there had to be a better way. I wasn’t sure if it was ingredients or technique that needed to change but this second round recipe definitely came closest to the product that I originally wanted.
I think the biggest problem was my use of wet to dry ingredients. The citric acid is activated by the wet ingredients — the more wet ingredients there are, the more of the citric acid will be activated and also (of course) the wetter the texture of your bath bombs will be. I think the first batches were simply too wet, and therefore weren’t consistent. Other than the water, coconut oil, and maybe the amount of essential oils you use, the recipes I used were almost identical. The other issue I encountered was the technique once the mixture was ready to put in the molds and also getting the bombs out of the molds. Measuring exact amounts is pretty important too, just because it affects how wet your mixture is.
So here’s the updated (yet very similar) recipe.
You’ll Need:
1 cup baking soda (I get the giant package at Sam’s Club/Costco)
1/2 cup cornstarch (I also get the giant container at Sam’s Club)
1/2 cup Epsom salt
1/2 cup citric acid
2 1/2 tsp coconut oil (melted — put in microwave for a few seconds)
9 to 10 drops of essential oils (you may want to make several scents blends and/or colors, so use your judgment)
few drops food coloring or washable liquid watercolors (these have worked really well for me, some people say the food coloring stains the tub, so if you do use food coloring, use it sparingly. You may have to add a little more of the liquid watercolors to get the desired colors)
silicon molds of your choosing or bath bomb molds (I prefer the actual bath bomb molds)
3/4 tsp water
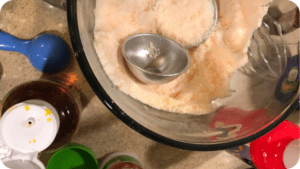
Combine all the dry ingredients in a bowl. Beat with a whisk. Add essential oils to your mixture and mix again. Then add your color to get the desired color. Mix again. Add your melted coconut oil to the mixture, mixing. Once everything else has been blended together, add the water and mix again using the whisk. It will bubble a little bit, and that’s okay.
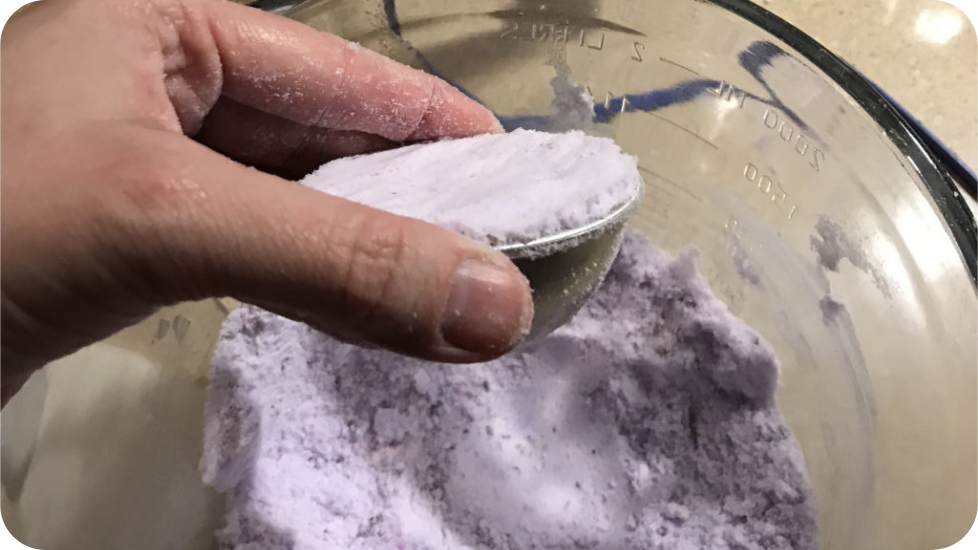
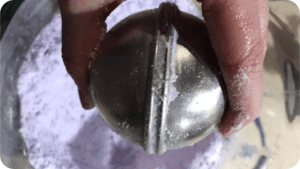
Overfill the two halves of your mold. What I found that worked best is putting the two overly full halves together and twisting them until the excess mixtures falls away and the two halves are together. Gently place them down and wait a minute or two. After your wait is over, I took a dishtowel and gently tapped each end of the mold onto the dishtowel to soften the tap and not damage the mold, but I thought it helped all the mixture settle better.
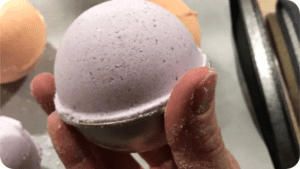
While holding the bottom half of the mold, gently twist the top half off and flip the bath bomb onto a clean, dry surface (I use wax paper) then gently twist off the remaining half of the mold. Allow to dry for 24 hours. I have read where some recipes suggest faster drying time by putting them in the oven on 200 degrees for a few hours. This didn’t consistently work for me. Sometimes it worked okay, sometimes it failed miserably and I’m sure it had to do with the wet/dry ratio again. Exact measurements are so important in the bath bombs turning out well.
Once dry you can store bath bombs in an airtight container. They always make great gifts and you can wrap them so many cute ways, in clear gift bags, in shallow boxes with shredded paper, just to name a few.
Aside from actually using them (which they do rock), they look great in a bowl by the tub. If they’re a gift, you can place them in a clear party favor bag with a cute ribbon or wrap in tissue paper and put in a fun little box all tied up with ribbon. They are excellent for teacher gifts, birthday for friends, or just for fun. I made some for a little friend of mine who is 6-years-old. I scented them with bubblegum extract, made them pink, and added hot pink glitter. What 6-year-old wouldn’t love that? Have fun!